Heathcote to Waterfall


(0km) Heathcote Railway Station → End of Freeman Rd
(1km) End of Freeman Rd → Int of Scout Camp and Freeman Road bushtracks
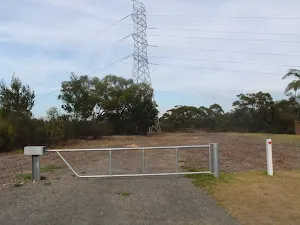
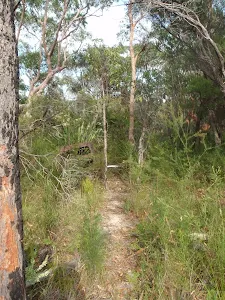
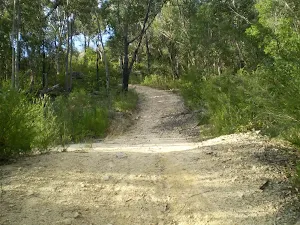
Turn right: From the intersection, the walk follows the bush track on the opposite side of the management trail to the power line tower. The walk passes a burnt-out car shell before turning down the long steep hill and winding down to the 'T' intersection with a wider track.
(1km) Int of Scout Camp and Freeman Road bushtracks → Int. of Mirang Track and Friendly Tracks
(2km) Int. of Mirang Track and Friendly Tracks → Int. of Mirang and Mirang Pool Tracks
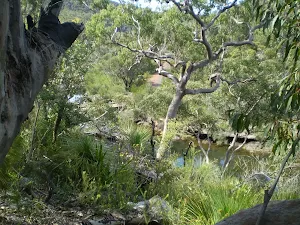
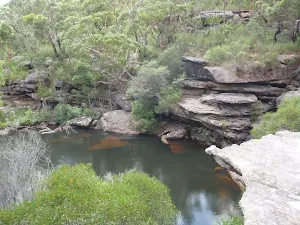
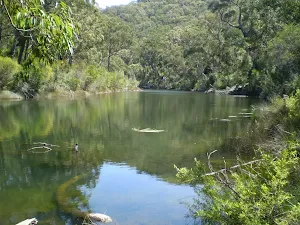
Mirang Pool camping ground
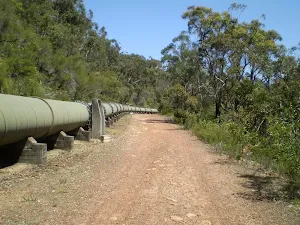
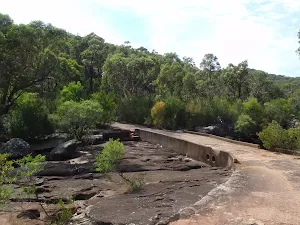
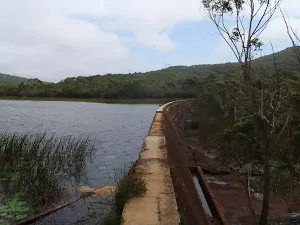
(3km) Int. of Mirang and Mirang Pool Tracks → Battery Causeway
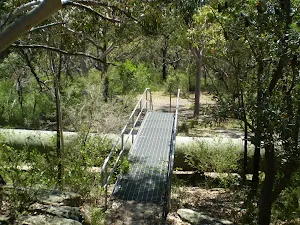
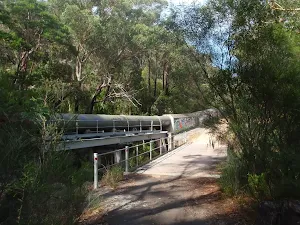
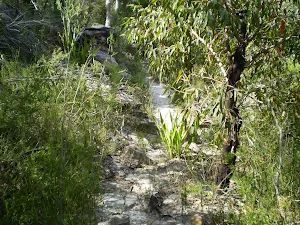
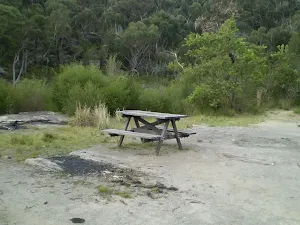
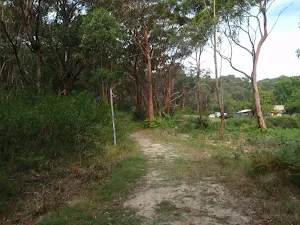
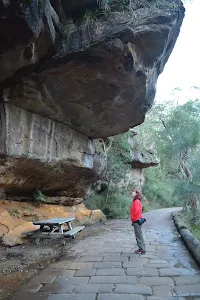
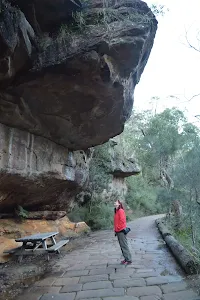
Continue straight: From the intersection, the walk follows the asphalt management trail, keeping Heathcote Creek and the valley to the right as the trail rounds a bend and heads up run parallel with the pipeline as the trail becomes gravel. From here, the walk continues along the management trail, keeping the pipeline on the left for about 750m. The walk then crosses over the pipeline using a timber bridge and 160m further along the management trail the walk passes a picnic table and crosses Heathcote Creek at the concrete Battery Causeway. (Here you may notice the 'Bullawarring Track - Waterfall 7km' sign[1] up to your left).
(4km) Battery Causeway → Int of Bullawarring and Goanna Tracks
(5km) Int of Bullawarring and Goanna Tracks → Int of Battery and Mooray Tracks
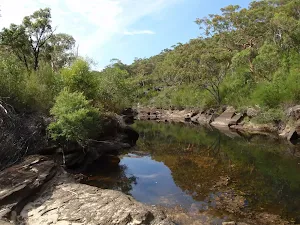
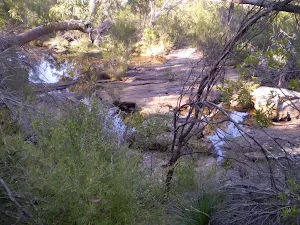
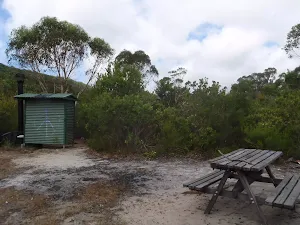
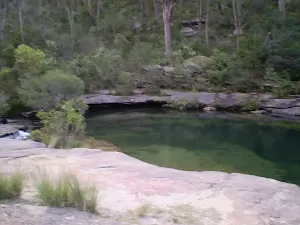
(8km) Int of Battery and Mooray Tracks → Kingfisher Pool camping ground
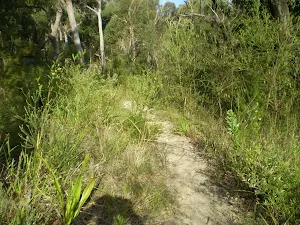
Continue straight: From the intersection, this walk follows the 'Waterfall' arrow on the 'Mooray Track' sign, heading down and across the creek at the rocks, following the painted track markers up the other side and along the bush track to a large open clearing. From here, the track follows the track marker though the clearing and along the bush track for a short while, coming to some large boulders. Here, the track turns right and then immediately left at the painted marker, climbing up onto the top of the rock platform. From the top of the platform, the walk follows the bush track, heading away from the creek for a short distance before turning left at the bush track and continuing to the Kingfisher Pool camping ground.
Kingfisher Pool camping ground
(9km) Kingfisher Pool camping ground → Int of Heathcote Creek Bushtrail and Lake Toolooma Servicetrail
(9km) Int of Lake Toolooma Servicetrail and Heathcote Creek Track → Int of Waterfall Gully and Lake Toolooma Servicetrail (west)
(9km) Int of Waterfall Gully and Lake Toolooma Servicetrail (west) → Int of Bullawarring Track and Warabin Servicetrail
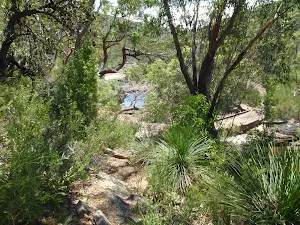
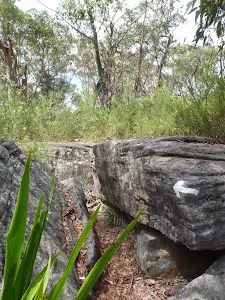
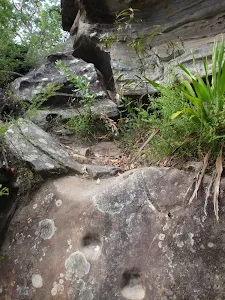
Continue straight: From the intersection, this walk follows the narrow track and painted arrow[4] in the middle of the rock step, heading east up the rocky steps. The walk climbs up some rough rock steps with some carved foot-holes in the rock outcrop, to the top of some short cliffs. From here, the walk follows the rock platform at the top of the short cliffs, and the painted arrows, to the bush track which continues up the long rocky hill. The walk continues up a long set of wooden steps to the signposted intersection with a service trail.
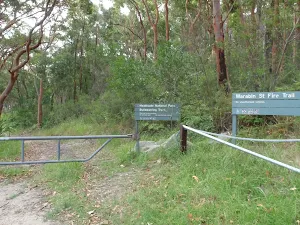
(10km) Int of Bullawarring Track and Warabin Servicetrail → End of Warabin Rd
Maps for the Heathcote to Waterfall walk
You can download the PDF for this walk to print a map.
These maps below cover the walk and the wider area around the walk, they are worth carrying for safety reasons.
| Port Hacking | 1:25 000 Map Series | 91294N PORT HACKING | NSW-91294N |
| Appin | 1:25 000 Map Series | 90291S APPIN | NSW-90291S |
| Campbelltown | 1:25 000 Map Series | 90291N CAMPBELLTOWN | NSW-90291N |
| Campbelltown | 1:50 000 Map Series | 90291 CAMPBELLTOWN | CW-90291 |
| Port Hacking | 1:100 000 Map Series | 9129 PORT HACKING | 9129 |
| Wollongong | 1:100 000 Map Series | 9029 WOLLONGONG | 9029 |
Cross sectional view of the Heathcote to Waterfall bushwalking track
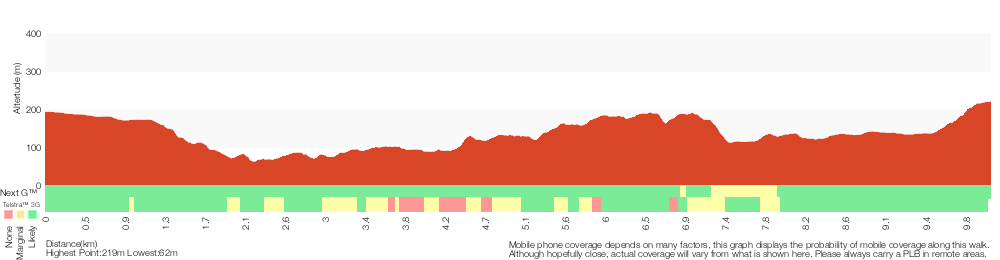
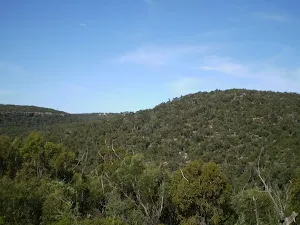
Analysis and summary of the altitude variation on the Heathcote to Waterfall
Overview of this walks grade – based on the AS 2156.1 – 2001
Under this standard, a walk is graded based on the most difficult section of the walk.
| Length | 10.1 km | ||
| Time | 5 hrs | ||
| . | |||
Grade 4/6 Hard track | AS 2156.1 | Gradient | Short steep hills (3/6) |
| Quality of track | Rough track, where fallen trees and other obstacles are likely (4/6) | ||
| Signs | Minimal directional signs (4/6) | ||
| Experience Required | Some bushwalking experience recommended (3/6) | ||
| Weather | Weather generally has little impact on safety (1/6) | ||
| Infrastructure | Limited facilities, not all cliffs are fenced (3/6) |
Some more details of this walks Grading
Here is a bit more details explaining grading looking at sections of the walk
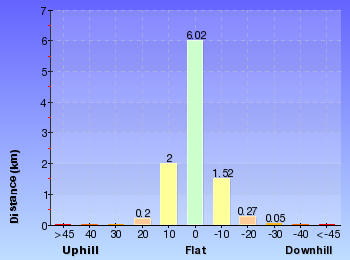
Gradient
4.8km of this walk has gentle hills with occasional steps and another 3.6km has short steep hills. The remaining (1.6km) is flat with no steps.
Quality of track
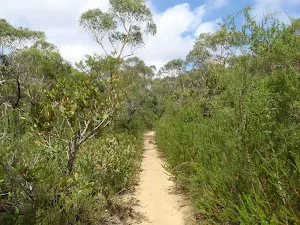
3.9km of this walk follows a clear and well formed track or trail and another 3.8km follows a formed track, with some branches and other obstacles. Whilst another 1.3km follows a rough track, where fallen trees and other obstacles are likely and the remaining 1km follows a smooth and hardened path.
Signs
5km of this walk is clearly signposted and another 3.6km has directional signs at most intersection. The remaining (1.3km) has minimal directional signs.
Experience Required
Around 5km of this walk requires some bushwalking experience, whilst the remaining 4.7km requires no previous bushwalking experience.
weather
This whole walk, 10km is not usually affected by severe weather events (that would unexpectedly impact safety and navigation).
Infrastructure
Around 9km of this walk has limited facilities (such as not all cliffs fenced), whilst the remaining 1.5km is close to useful facilities (such as fenced cliffs and seats).
Similar walks
A list of walks that share part of the track with the Heathcote to Waterfall walk.
Lake Toolooma Trail
6.4 km Circuit, 2 hrs 30 mins
Moderate track
Heathcote to Waterfall Overnight Walk
10.8 km One way, 2 Days
Hard track
Waterfall to Heathcote
10.8 km One way, 5 hrs
Hard track
The Goanna Track Circuit
11 km Circuit, 4 hrs
Hard track
Other Nearby walks
A list of walks that start near the Heathcote to Waterfall walk.
Heathcote to Audley
10 km One way, 4 hrs 15 mins
Hard track
Heathcote to Engadine via Audley
15 km One way, 6 hrs 30 mins
Hard track
Uloola Track (Heathcote to Waterfall)
11.3 km One way, 4 hrs 30 mins

Hard track
The Karloo Track
5.6 km Return, 3 hrs

Moderate track
Engadine to Audley
5.8 km One way, 2 hrs 30 mins

Hard track
Gibraltar Rock
858 m Return, 20 mins
Easy track
Jersey Spring
5 km Return, 1 hr 45 mins

Easy track
Willow Tree to Calala
10.5 km Return, 4 hrs
Moderate track
Winifred Falls
4.4 km One way, 2 hrs

Hard track
Robertson's Roundabout
2.3 km Circuit, 1 hr 15 mins

Hard track
Audley to Gibraltar Rock
2.2 km Return, 45 mins
Easy track
Bungoona Path
918 m Return, 20 mins
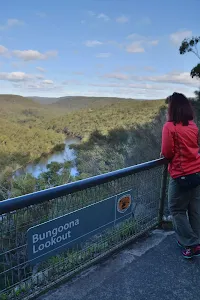
Very easy
Plan your trip to and from the walk here
The Heathcote to Waterfall walk starts at the Heathcote Railway Station (gps: -34.088189, 151.00809)
The Heathcote to Waterfall ends at the End of Warabin Rd (gps: -34.130419, 150.99211)
Weather Forecast
This walk starts in the Metropolitan weather district.
A detailed forecast for this walk isn't available yet.
Current Alerts
Live alerts aren't available for this walk. Check the NPWS website for closures and the RFS for current fire danger.
Park Information
Heathcote National Park
Comments
Short URL: http://wild.tl/htw