Faulconbridge to Blaxland
* This walk passes through very remote areas and sections have no visible track. At least one person in your group should have training and experience in off track walking and navigation. Even with these notes and a GPS these extra skills and equipment are required.


Faulconbridge
(0km) Faulconbridge Station → No. 10 Sir Henrys Pde
Victory Track
(0km) No. 10 Sir Henrys Pde → Int. Victory Trk and Clarinda Falls
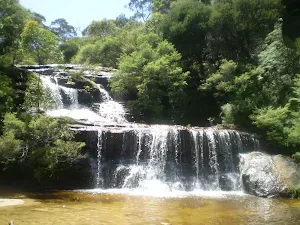
(2km) Int. Victory Trk and Clarinda Falls → Clarinda Falls
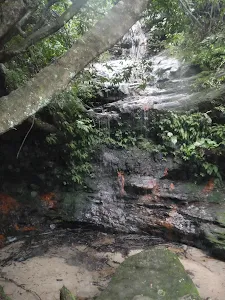
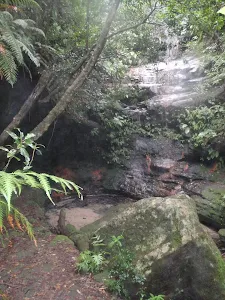
Clarinda Falls
(2km) Int. Victory Trk and Clarinda Falls → Victory Trk camping area
Victory Track camping area
(2km) Victory Trk camping area → Victory Trk pool
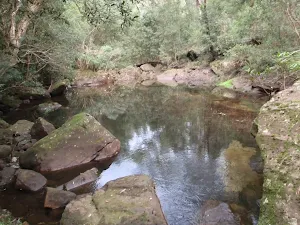
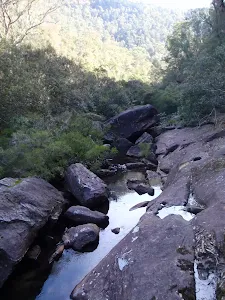
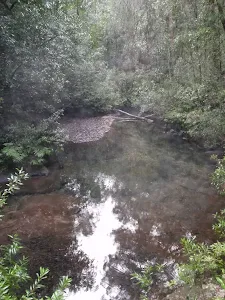
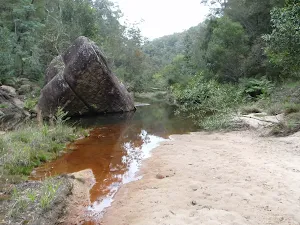
Victory Track pool
(3km) Victory Trk pool → Perch Ponds camping area
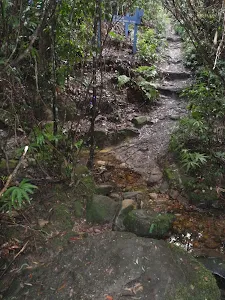
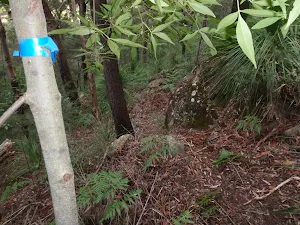
Turn right: From the intersection, the walk heads down across the creek in the direction of the 'To Wiggins Track' sign[15]. The walk winds along the hillside, keeping the creek on the right, passing a blue track marker[16] which directs the walk to the other side of the creek. The walk now keeps the creek on the left as it winds up to a 'Perch Ponds, Springwood Stn' sign[17].
Veer right: From the intersection, the walk follows the direction of the 'Perch Ponds' sign[18] across the hillside. The walk soon nears the creek on the left, then undulates above it for a short while. The track crosses a steeply banked creek junction, then continues following the main creek (which is on the left). The walk stays near this creek, coming into a campground clearing with large boulders.
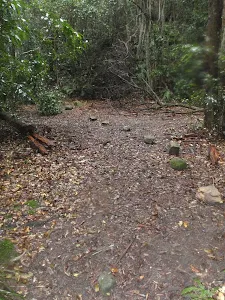
Continue straight: From the campground clearing, the walk exits the clearing, keeping the main creek to the right, and immediately crosses a side creek. The walk keeps the main creek on the right as it slowly climbs the hillside. The track then heads downhill, passing under a few rock overhangs and soon entering the campground clearing of 'Perch Ponds'.
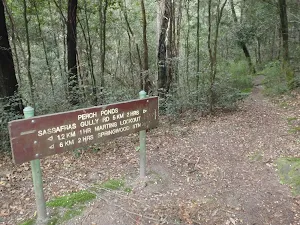
Perch Ponds Campsite
(7km) Perch Ponds camping area → Martins camping area
Veer right: From the intersection, the walk follows direction of the 'Long Track' sign, down the hill. The track winds down near the creek and passes a sandy beach access before soon entering a second clearing.
Martins campsite
End of day 1
(8km) Martins camping area → Bunyan Lookout
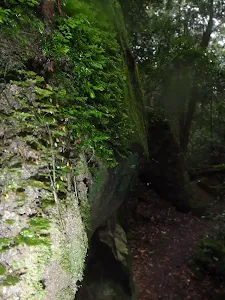
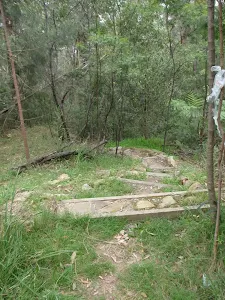
Veer right: From the intersection, the walk follows the 'Bunyan Lkt' post down the stairs. The walk soon meets the creek and turns left, following the creek for a short distance before crossing at an opening in the shrubs around the creek. From here, the walk follows the cairns (rock stacks) across creek flats before climbing the hill to the base of a small cliff line. At one point beneath the cliff line, the walk ducks through a hole in the rock, then winds up through boulders, following more cairns. The walk continues up the hill, passing through a few more rocky outcrops to reach the informal, unfenced Bunyan Lookout, in a clearing near the cliff line.
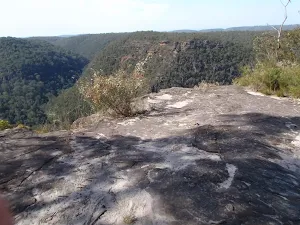
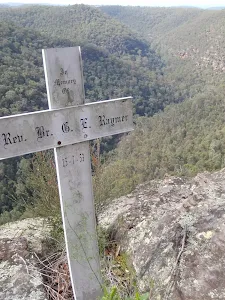
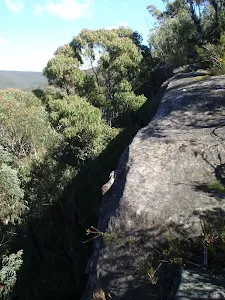
Bunyan Lookout
(9km) Bunyan Lookout → Int. Bunyan Lookout Trk and Lost Worlds Trk
(10km) Int. Bunyan Lookout Trk and Lost Worlds Trk → Lost Worlds Lookout
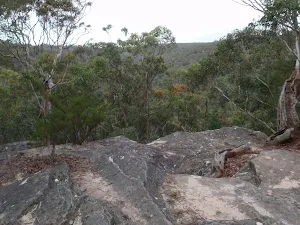
Lost Worlds Lookout
(10km) Int. Bunyan Lookout Trk and Lost Worlds Trk → St Helena Ridge Lookout
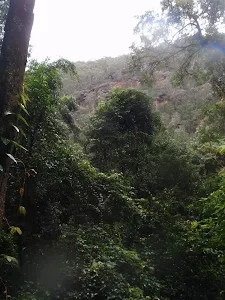
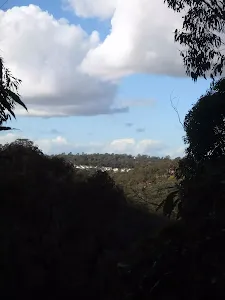
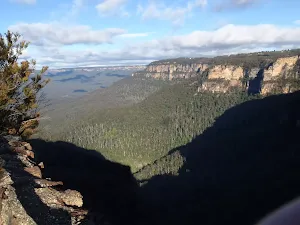
Veer left: From the intersection, this walk heads south east along track soon leading downhill. The walk meanders through the heath for quite some time. The walk nears a cliff line on the left, which it continues near for a short time before opening out onto a rocky outcrop with a view across to houses on the opposite hill (just before the steep downhill section).
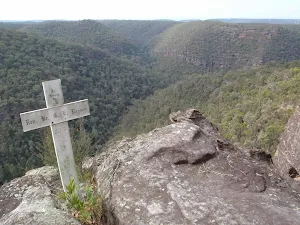
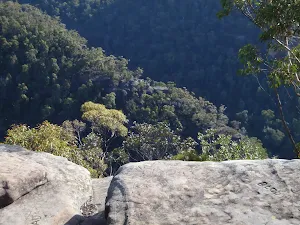
St Helena Ridge Lookout
(13km) St Helena Ridge Lookout → Int. Waterfall and ridge trk
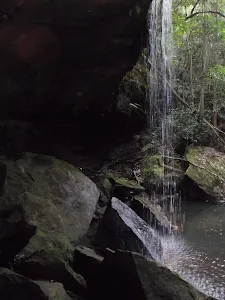
(13km) Int. Waterfall and ridge trk → St Helena waterfall
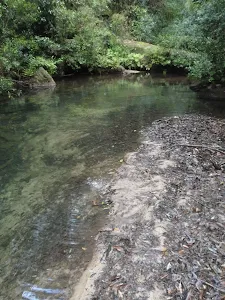
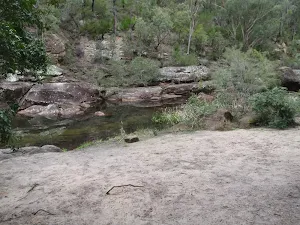
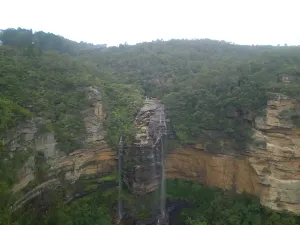
Continue straight: From the beach, the walk heads across the sand bar (covered in reeds) to come within ear-shot of the waterfall, located behind the inlet on the creek. The walk passes through the sandy, shallow section of the creek then walks up the bank and around to the waterfall. At the end of this side trip, retrace your steps back to the main walk then Continue straight.
St Helenas waterfall
(13km) Int. Waterfall and ridge trk → Blaxland Library Carpark
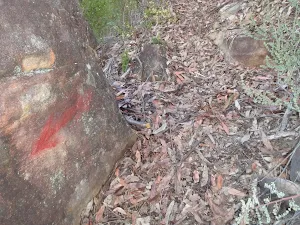
Turn left : From the large boulder, this walk heads up the hill and climbs the stone steps steeply, with a number of pink ribbons marking the initial track. The track continues steeply (eroded in places) up the hill and winds its way up to the un-signposted T-intersection.
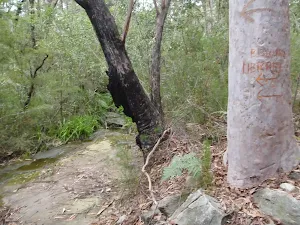
Turn sharp right: From the intersection[19], this walk heads along the mostly flat track along the side of the hill, keeping the valley to your right. Soon the track leads to another intersection at the base of more stone steps, and a rock wall (on the left) that has 'Florabella Pass' engraved in it[20].
Continue straight: From the intersection, the walk heads around the boulder (which is on the left) and soon meets a set of stairs, to the left of a 'Pippas Pass' sign[21] in a tree.
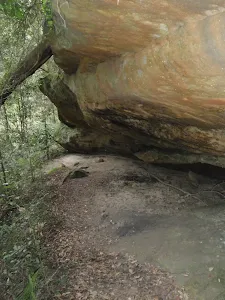
Turn right: From the intersection[22], this walk follows the 'Pippas Pass' sign[23] (that is about 2m up a tree) gently downhill along the track, directly away from the rockface, keeping the main valley to your right. The track winds along the side of the hill for about 100m to then climb up a set of sandstone steps just past a shallow sandstone overhang[24]. From here the track gently undulates along the side of the hill (with a steep valley to your right[25]) for about 300m to lead gently down and cross the usually small creek in the shaded valley[26]. Just after crossing this creek[27], the track bends left to head gently up through the valley along the base of a few natural sandstone walls[28] for about 200m, where the the track becomes rocky and starts to climb a bit more steeply. The track then leads up through a cleft in the rock[29] then about 60m later comes to a unsignposted three-way intersection (with the track on the left crossing the creek), marked with a smooth bark Angophera[30].
Turn left: From the intersection[31], this walk crosses the sandstone platform and creek[32]. Here the track winds gently uphill for about 40m to cross a smaller often dry creek [33] where the track continues uphill for another 30m to pass a grafittied sandstone overhang (on your left)[34]. The track continues gently uphill and bends right to cross a sandstone rock platform and small creek[35] to almost immediately come to a faint intersection with a track in the tall heath[36]. Here the walk turns left and heads uphill for for about 50m where the track then leads up some steps to come to the base of a sandstone cliff and smaller overhang[37]. Here the track bends left and and continues along the side of the hill for another 15m to pass a larger and more grafittied sandstone overhang[38]. From here the track continues to wind more steeply uphill for about 80m before turning left and following a wider track (away from the houses) and into the lower car park of Blaxland library just past the 'Bushcare site' information sign[39]. Here this walk turns right to head up to the library and main car park[40].
(15km) Blaxland Library Carpark → Blaxland shops
Blaxland
(15km) Blaxland Shops → Blaxland Station
Maps for the Faulconbridge to Blaxland walk
You can download the PDF for this walk to print a map.
These maps below cover the walk and the wider area around the walk, they are worth carrying for safety reasons.
| Springwood | 1:25 000 Map Series | 90304S SPRINGWOOD | NSW-90304S |
| Penrith | 1:25 000 Map Series | 90303N PENRITH | NSW-90303N |
| Penrith | 1:100 000 Map Series | 9030 PENRITH | 9030 |
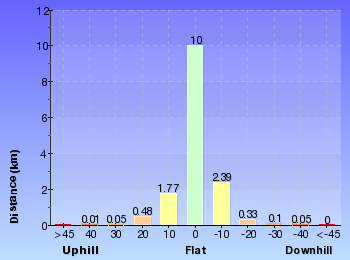
Cross sectional view of the Faulconbridge to Blaxland bushwalking track
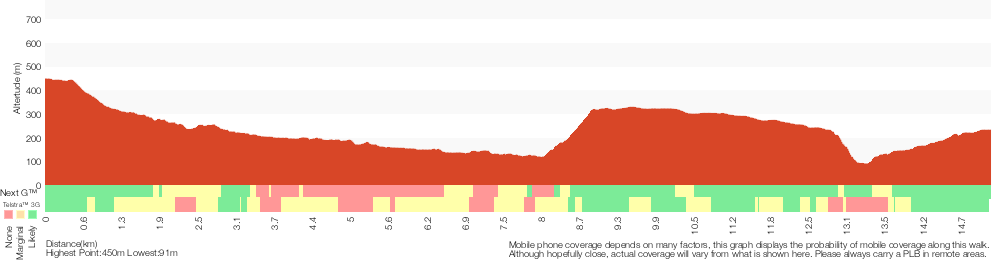
Analysis and summary of the altitude variation on the Faulconbridge to Blaxland
Overview of this walks grade – based on the AS 2156.1 – 2001
Under this standard, a walk is graded based on the most difficult section of the walk.
| Length | 15.2 km | ||
| Time | 2 Days | ||
| . | |||
Grade 5/6 Experienced only | AS 2156.1 | Gradient | Very steep (4/6) |
| Quality of track | Rough unclear track (5/6) | ||
| Signs | No directional signs (5/6) | ||
| Experience Required | Moderate level of bushwalking experience recommended (4/6) | ||
| Weather | Storms may impact on navigation and safety (3/6) | ||
| Infrastructure | No facilities provided (5/6) |
Some more details of this walks Grading
Here is a bit more details explaining grading looking at sections of the walk
Gradient
6km of this walk has short steep hills and another 4.3km is very steep. Whilst another 4.1km has gentle hills with occasional steps and the remaining 530m is flat with no steps.
Quality of track
7km of this walk follows a rough track, where fallen trees and other obstacles are likely and another 6km follows a formed track, with some branches and other obstacles. Whilst another 1.4km follows a rough unclear track and a 940m section follows a smooth and hardened path. The remaining 55m follows a clear and well formed track or trail.
Signs
6km of this walk has directional signs at most intersection and another 6km has minimal directional signs. Whilst another 2.3km is clearly signposted and the remaining 1.1km Has no directional signs.
Experience Required
14km of this walk requires no previous bushwalking experience and another 1.3km requires some bushwalking experience. The remaining (110m) requires a leader a with moderate level of bushwalking experience.
weather
Around 14km of this walk is not usually affected by severe weather events (that would unexpectedly impact safety and navigation), whilst the remaining 1.3km is affected by storms that may impact your navigation and safety.
Infrastructure
8km of this walk has limited facilities (such as cliffs not fenced, significant creeks not bridged) and another 4.9km has limited facilities (such as not all cliffs fenced). Whilst another 2.3km is close to useful facilities (such as fenced cliffs and seats) and the remaining 100m has no facilities provided.
Similar walks
A list of walks that share part of the track with the Faulconbridge to Blaxland walk.
Plateau Pde Florabella Pass Loop
2.6 km Circuit, 1 hr 30 mins
Hard track
Plateau Pde to Blaxland Station via Florabella Pass
2.9 km One way, 2 hrs
Hard track
Martin's Lookout to Bunyan Lookout
3.1 km Return, 3 hrs 30 mins
Experienced only
Clarinda Falls from Faulconbridge
3.5 km Return, 2 hrs
Hard track
Blaxland Station to Boulder Pool
4 km Return, 2 hrs
Hard track
Blaxland Station Florabella Pass Loop
4.3 km Circuit, 2 hrs 30 mins
Hard track
Martin's to Lost Worlds Lookout
5.4 km Return, 3 hrs 30 mins
Experienced only
Blaxland to Warrimoo Station Florabella Pass
6 km One way, 3 hrs
Hard track
Faulconbridge to Springwood via Sassafras Gully
6.1 km One way, 3 hrs
Hard track
Sassafras Gully Loop
10.5 km Circuit, 4 hrs 15 mins
Hard track
Springwood to Faulconbridge
11.5 km One way, 5 hrs
Hard track
Springwood to Blaxland Station
13.5 km One way, 6 hrs
Experienced only
Martins Lookout Loop Walk
13.8 km Circuit, 6 hrs 30 mins
Hard track
Martin's Lookout to Woodford Station
15.9 km One way, 7 hrs
Experienced only
Woodford to Blaxland Station
18.3 km One way, 7 hrs 15 mins
Experienced only
Woodford to Faulconbridge
23.4 km One way, 2 Days
Experienced only
Other Nearby walks
A list of walks that start near the Faulconbridge to Blaxland walk.
Lawson Lookout from Fairy Dell Reserve
2.7 km Return, 1 hr 30 mins

Hard track
Springwood to Martins Falls
9 km Return, 4 hrs
Hard track
Raymond Rd to Lawsons Lookout
202 m Return, 15 mins
Moderate track
Martin's Lookout
180 m Return, 15 mins
Moderate track
Martin's Lookout to Glenbrook Creek
1.2 km Return, 1 hr 30 mins
Hard track
Woodford Station to cliff lookout
8.6 km Return, 3 hrs 30 mins
Hard track
Woodford to Glenbrook
29.6 km One way, 3 Days

Hard track
Charles Darwin, National Pass and Nature Track walk
8.6 km Circuit, 5 hrs
Hard track
The Charles Darwin Walk
5.6 km Return, 2 hrs
Moderate track
Under and Over Cliff Walk
9.4 km Circuit, 4 hrs
Moderate track
Wentworth Falls Conservation Hut Loop
6.7 km Circuit, 3 hrs
Hard track
Wentworth Falls Loop
10.2 km Circuit, 6 hrs
Hard track
Plan your trip to and from the walk here
The Faulconbridge to Blaxland walk starts at the Faulconbridge Station (gps: -33.696620, 150.53487)
The Faulconbridge to Blaxland ends at the Blaxland Station (gps: -33.743785, 150.60987)
Weather Forecast
This walk starts in the Central Tablelands weather district.
Current Alerts
Park Information
Blue Mountains National Park
Attracting over 3 million visitors annually, Blue Mountains National Park holds some of Australia's most spectacular and diverse wilderness areas. Explore the Grose Valley, with its sheer sandstone cliffs, waterfalls and scenic walking, or enjoy the famous views of the Three Sisters. Easy access makes a day trips very worthwhile, but with such diversity it would be great to stay in one of the many B&B's and spend a few days soaking up the region.
Comments
Short URL: http://wild.tl/ftb