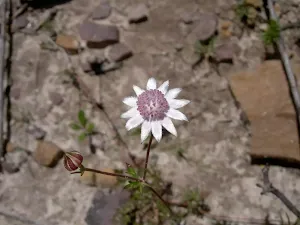
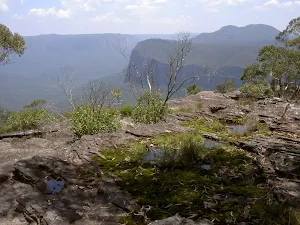
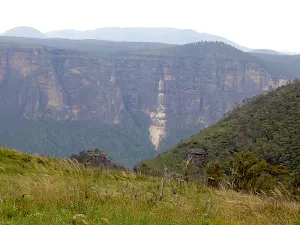
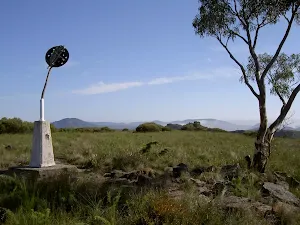
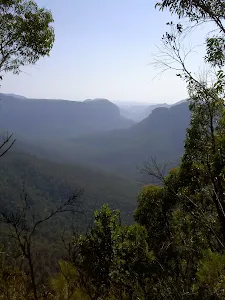
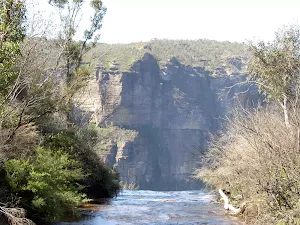
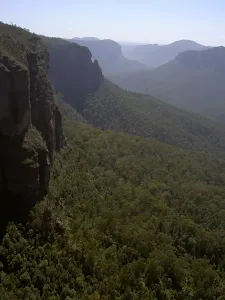
Hay Monolith
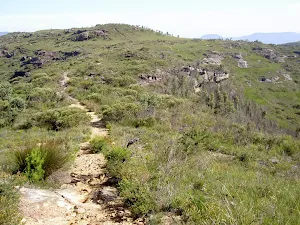

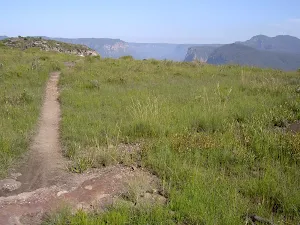
(0km) Mt Hay car park → Rock Flat
Veer right: From the intersection, this walk heads approximately 20m up the hill, keeping the rocky knoll to the left of the track, soon coming to the intersection.
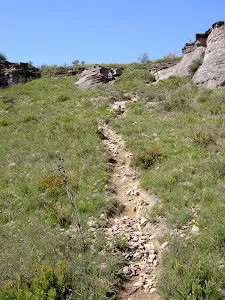
Veer left: From the intersection, this walk heads up the hill, with Mt Hay to the right of the track. The track follows the ridgeline, undulating slightly for approximately 200m, then drops down to a rocky surface at the intersection.
(1km) Rock Flat → Int. Valley Trk and Hay Wall Trk
(1km) Int. Valley Trk and Hay Wall Trk → Int. Hay Wall Trk and Hay Monolith summit Trk
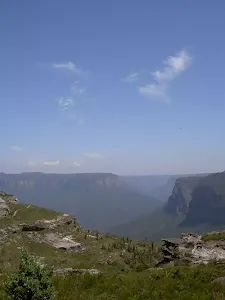
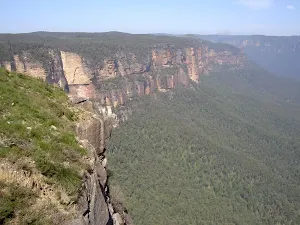
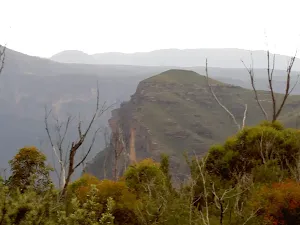
Veer right: From the spherical cave, this walk keeps the rock to the left of the track, heading towards the valley. The track leads around the base of the cliffs for approximately 80m before coming to a grassy pass into the cliff (on the left).
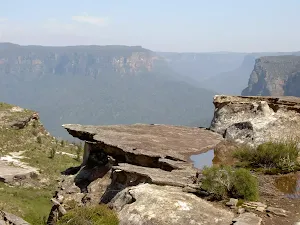
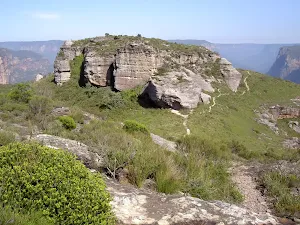
(1km) Int. Hay Wall Trk and Hay Monolith summit Trk → Hay Monolith summit
(1km) Int. Hay Wall Trk and Hay Monolith summit Trk → Hay Monolith West
(1km) Hay Monolith West → Hay Wall Lookout
(1km) Hay Monolith West → Int. Valley Trk and Hay Wall Trk
Turn right: From the spherical cave, this walk traverses a grassy saddle, keeping the valley to the left of the track. The track climbs up some rocky surfaces, then heads east up the spur line, coming to the intersection in the low heath.
(1km) Int. Valley Trk and Hay Wall Trk → Mt Hay car park
Veer right: From the intersection, this walk heads away from the rocky outcrops on the hill to traverse the saddle and rise up to the car park.
Maps for the Hay Monolith walk
You can download the PDF for this walk to print a map.
These maps below cover the walk and the wider area around the walk, they are worth carrying for safety reasons.
| Katoomba | 1:25 000 Map Series | 89301S KATOOMBA | NSW-89301S |
| Mount Wilson | 1:25 000 Map Series | 89301N MOUNT WILSON | NSW-89301N |
| Katoomba | 1:100 000 Map Series | 8930 KATOOMBA | 8930 |
Cross sectional view of the Hay Monolith bushwalking track
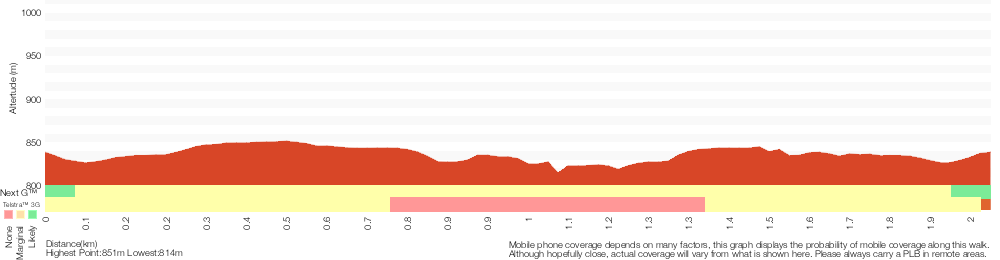
Analysis and summary of the altitude variation on the Hay Monolith

Overview of this walks grade – based on the AS 2156.1 – 2001
Under this standard, a walk is graded based on the most difficult section of the walk.
| Length | 2 km | ||
| Time | 1 Hr | ||
| . | |||
Grade 3/6 Moderate track | AS 2156.1 | Gradient | Short steep hills (3/6) |
| Quality of track | Formed track, with some branches and other obstacles (3/6) | ||
| Signs | Directional signs along the way (3/6) | ||
| Experience Required | No experience required (1/6) | ||
| Weather | Weather generally has little impact on safety (1/6) | ||
| Infrastructure | Limited facilities, not all cliffs are fenced (3/6) |
Some more details of this walks Grading
Here is a bit more details explaining grading looking at sections of the walk
Gradient
This whole walk, 2km has short steep hills.
Quality of track
This whole walk, 2km follows a formed track, with some branches and other obstacles.
Signs
This whole walk, 2km has directional signs at most intersection.
Experience Required
This whole walk, 2km requires no previous bushwalking experience.
weather
This whole walk, 2km is not usually affected by severe weather events (that would unexpectedly impact safety and navigation).
Infrastructure
This whole walk, 2km has limited facilities (such as not all cliffs fenced).
Similar walks
A list of walks that share part of the track with the Hay Monolith walk.
Mt Hay
3.1 km Return, 1 hr 45 mins
Hard track
Mt Hay and Hay Monolith
4.6 km Circuit, 2 hrs
Hard track
Other Nearby walks
A list of walks that start near the Hay Monolith walk.
Lockley Pylon
6.8 km Return, 3 hrs 15 mins
Hard track
Lockey Pylon to Blackheath Station
16.5 km One way, 2 Days
Hard track
Flat Top
1 km Return, 30 mins
Moderate track
Fortress Ridge Trail
7.4 km Return, 3 hrs
Moderate track
Govetts Creek Lookout
2.9 km Return, 1 hr 30 mins

Moderate track
George Phillips Lookout walk
588 m Return, 30 mins

Very easy
Govetts Leap Descent
1.2 km Return, 1 hr 45 mins
Hard track
Pulpit Rock Track
3.8 km One way, 2 hrs 30 mins

Hard track
Cliff Top Track
3.2 km One way, 1 hr 45 mins
Hard track
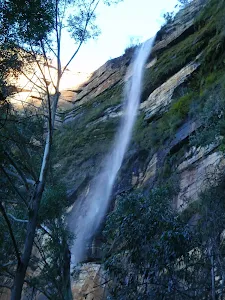
Govetts Leap Falls (Bridal Veil Falls)
1.4 km Return, 1 Hr
Hard track
Fairfax Heritage Circuit Track
2.4 km Circuit, 1 Hr
Very easy
Fairfax Heritage Track
1.9 km One way, 45 mins

Very easy
Plan your trip to and from the walk here
The Hay Monolith walk starts and ends at the Mt Hay car park (gps: -33.629907, 150.40203)
Weather Forecast
This walk starts in the Central Tablelands weather district.
Current Alerts
Park Information
Blue Mountains National Park
Attracting over 3 million visitors annually, Blue Mountains National Park holds some of Australia's most spectacular and diverse wilderness areas. Explore the Grose Valley, with its sheer sandstone cliffs, waterfalls and scenic walking, or enjoy the famous views of the Three Sisters. Easy access makes a day trips very worthwhile, but with such diversity it would be great to stay in one of the many B&B's and spend a few days soaking up the region.
Comments
Short URL: http://wild.tl/hm